|
|
[Click on a thumbnail to see a larger image - - javascript
must be enabled and popups allowed from this site]
|
Most of you know that I got a steal on a van turbo off Ebay. Guys and gals, it really is this easy to do, I bought the van turbo for $100, the rebuild kit was $100, the wicked wheel was $70ish,
and I got a used ATS housing for $300.
A special thanks goes out to JTHarvey (FTE - Jeremy), and strokin_it7.3 (FTE - Kris) for the questions they answered and the guidence they offered.
Well lets rebuild it before we stick it on the truck.
By the way, the van and the stock garrett turbo are the exact same innards, so if you need to rebuild your stocker this is the procedure.
|
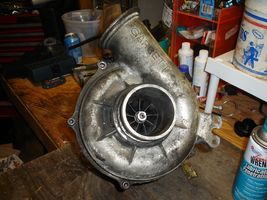
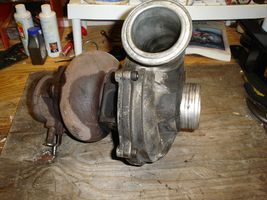
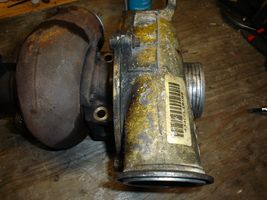
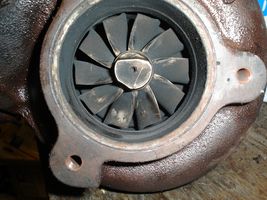
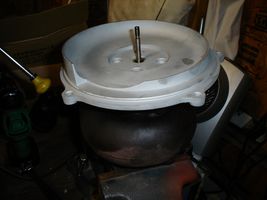
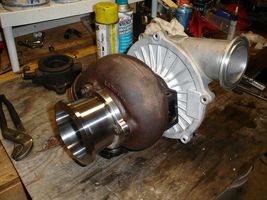
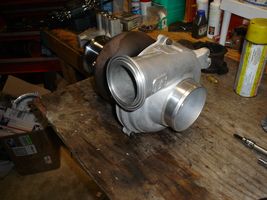
One crusty Van Turbo.
|
Here we go....
|
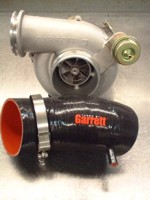
Looking to upgrade your turbo?
DieselOrings.com
has the High Performance GTP-38R Ball Bearing Turbo
FREE SHIPPING.
|
[Click for a larger image)
Remove the compressor housing. There are 5 bolts and a 5/16 12point socket is required.
|
[Click for a larger image)
Remove EBPV housing/ exhaust flange. a 5/16 12point socket is required.
|
[Click for a larger image)
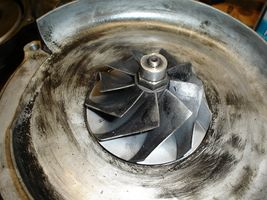
Remove the compressor wheel, use a screw driver wrapped with duct tape to keep the drive wheel from spinning while you are loosening the compressor wheel.
Once wheel is removed, remove 4 backplate bolts, a 5/16 12point socket is required.
|
[Click for a larger image)
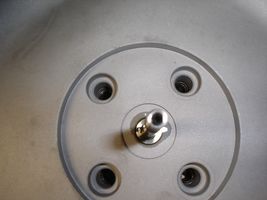
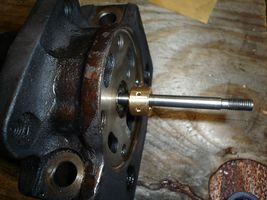
Lift off compressor backplate from oil galley/shaft housing..
|
[Click for a larger image)
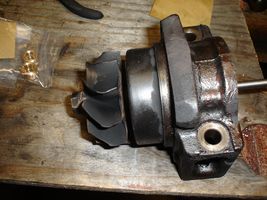
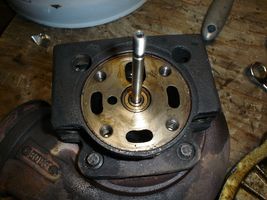
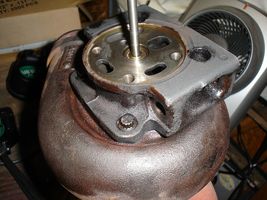
Remove the 4 5/16 bolts joining the drive housing to the oil/shaft housing using a 5/16 12pt socket.
|
[Click for a larger image)
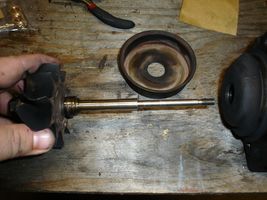
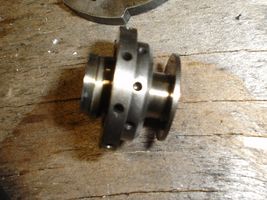
Gently Tap the shaft with a rubber mallet to unseat the oil seal ring, and remove the shaft from assembly.
Remove the 2 shaft rollers, and the spacer from the assembly with a pick (you may be able to turn the assembly upside down and shake them out).
|
[Click for a larger image)
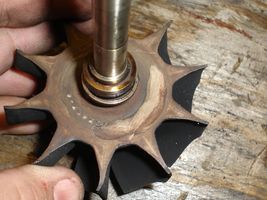
Remove the split c ring oil seal (at base of shaft near drive wheel) and replace with the new one from rebuild kit
|
[Click for a larger image)

Place shaft back into assembly making sure to use gentle pressure to seat the oil seal c- ring. (the housing is chamfered so it will self align and compress on the way in).
Squirt a little oil into the assembly from the shaft side, and slide one roller in then the spacer, then the other roller
Give it a spin to distribute the oil you used earlier
|
[Click for a larger image)
Now replace the assembly on the exhaust housing using RED LOCTITE for the bolts, torque to "OMG thats tight!"
|
[Click for a larger image)
Now lets work on the thrust bearing. There will be a small split c-ring oil seal that goes on the thrust bearing and there is only one groove it will fit on.
|
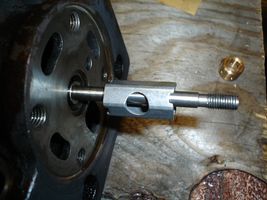
[Click for a larger image)
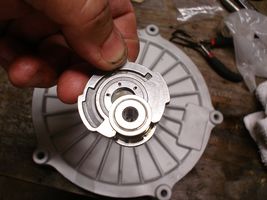
Place the spacer key on the thrust bearing (PAY ATTENTION TO THIS PICTURE, IF YOU INSTALL THIS SPACER WRONG YOU WILL BURN UP YOUR BEARING
AND DESTROY YOUR TURBO) the side with the grooves and holes must be oriented correctly.
|
[Click for a larger image)
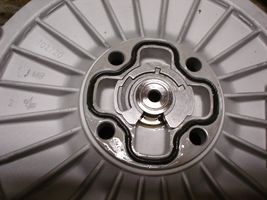
Use a little oil on the bearing and place the spacer and key in compressor plate (it only fits one way) and gently seat the oil seal in the housing by pressing down.
Install clover shaped o-ring with a little oil to help it seal.
|
[Click for a larger image)
Slide the compressor plate and bearing over the shaft, and seat into shaft/oiler assembly (pay attention to the pictures for orientation so you dont end up with the backplate indexed wrong).
|
[Click for a larger image)
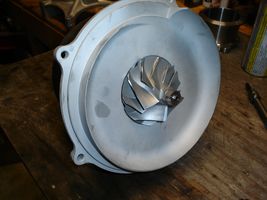
Re-install the compressor wheel.
|
[Click for a larger image)
Install the compressor housing (check for wheel clearance before tightening down).
|
[Click for a larger image)
Install the exhaust flange (or ebpv if you working with a stock turbo). Remember to use Red loctite on these bolts..
|
[Click for a larger image)
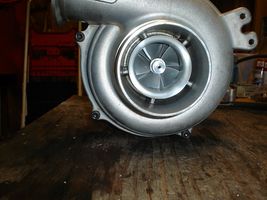
Give everything a spin and make sure its not making any grinding noises.
You have rebuilt a Garrett turbo!..
|
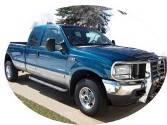
Re-install the turbo on the truck, (pedistal bolt torque: 18 lb/ft) make sure you break your new bearings in by not exceeding 2000 RPMs for the first 50 or so miles.
|
|
|
|
|

)
)
)
)
)
)
)
)
)
)
)
)
)
)
)
)
)
)
)
)
)
)