|
|
|
One of the most basic maintenance procedures is the engine oil and oil filter change. This procedure is fairly straightforward
and can save you some serious dollars over the life of your truck if you do it yourself but there are some pitfalls to avoid.
Got a question? Contact me on my DieselOrings.com webshop CONTACT PAGE
|
 |
|
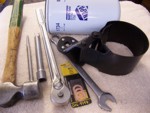
Parts and supplies to change the engine oil and filter |
Oil Filter (Napa, Fleetguard, Motocraft, etc.) |
- Napa Gold 1734 |
Drain Plug gasket |
- Oil Tite M14, Napa, etc. |
15 quarts motor oil |
- Rotella T, Mobil Delo or your favorite flavor. Just make sure that the API rating of the oil has the CI-4 rating for
diesel engines |
|
Tools: |
19mm open/box end wrench, |
- Oil pan drain plug removal |
Heavy duty oil filter wrench |
- KD tools 2320 filter wrench. Sometimes these filters will 'weld' themselves to the filter seat and can make them
almost impossible to remove. This may be caused by some grease monkey over-tightening the last filter
or simply the transfer of heat from the engine block to the filter. Without the proper tools, you can find yourself putting
fresh oil into the engine with a dirty filter that you can not remove with your father's Oldsmobile filter wrench! |
Hammer and punch |
- To drain the oil from the filter before removal. |
[Click on a thumbnail to see a larger image - -
javascript must be enabled and popups allowed from this site]
|
Before parking the truck to change the oil, drive it around to get the engine warm. By
getting the oil warm it will drain out of the engine faster and will remove more of the contaminants and soot that may have settled to
the bottom of the oil pan. Park the truck, set the parking brake and chock the wheels.
|
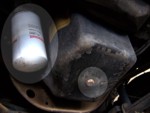 |
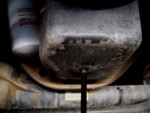
First, get under the truck and locate the filter cartridge and oil drain plug on the engine.
|
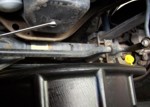 |
Place a drain pan under the drain plug on the oil pan and use the 19mm box end wrench to loosen the drain plug.
|
 |
Carefully remove the drain plug by keeping your hand away from below the plug. If you drop the plug or inadvertently place your
hand in the flow of hot oil draining from the engine, scalding can quickly occur. Have a rag handy in the case that you get some
oil drips on your fingers.
|
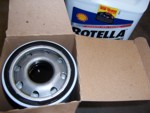 |
While the oil continues to drain from the engine, prepare the new oil filter for installation. You will want to fill the oil cartridge
with fresh oil. This will reduce the number of times the engine will have to turn over to fill the oil journals and new filter.
Put a small amount of oil on your finger and coat the gasket surface of the new filter. This is to keep the filter's seal from binding
on the seating surface and causing a leak when you tighten it.
|
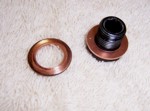 |
Inspect the oil plug for any metal flakes on the oil plug magnet. Any large particles or 'fuzz' on this magnet
should be of concern.
Always use a new copper gasket on the drain plug with every oil change. This will keep the
plug from 'dripping' between oil changes.
|
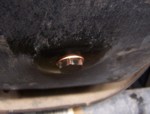 |
Install the oil plug with the new copper gasket into the oil pan. Do not tighten more than 28 ft-lbs.
|
|
 |
UPDATE:
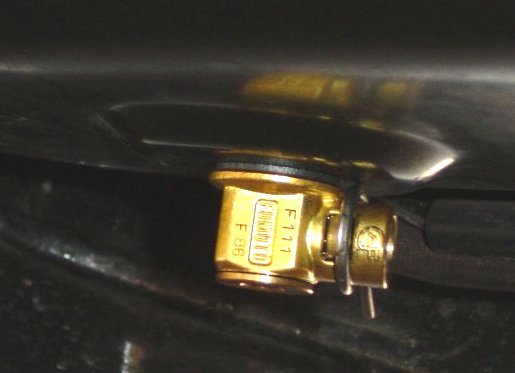
Since I initally posted this write-up, I have installed a
Fumoto Quick change oil drain valve and I can
honestly say that it is the cats meow! A quick 1/4 turn and the oil drains! No more having oil run down my arm when I pull the drain plug. No more buying
copper washers every time I turn around. Taking oil samples for analysis is a quick and easy task now! I would
never, ever own a truck again without installing one of these quick drain Fumoto valves. I have also found that my initial concerns
about ground clearance was totally unfounded and is not a problem since
the valve is up higher than the front axle and is also protected by the front engine cross member.
I have heard that some people worry about vandals getting under
the truck and dumping the oil on the ground. With the addition of the safety clip, that is not a worry I have. The clip is
so stiff, I can not remove it by hand, I must use a pair of pliers to get it off. Someone would probably be
more likely to crawl under your truck with a crescent wrench! The safety clip is also a mind-easer when going off road and through
heavy brush. The valve handle has to be pushed up while turning to open but the clip just adds an extra measure of safety.
|
|
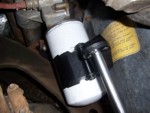 |
Relocate the drain pan under the filter. Use the filter wrench to loosen the filter about 1/4 turn, just enough to know that
it has broken loose from the seat but not enough to begin to drip. Hand tighten to stop any oil from running down the side of the
filter. |
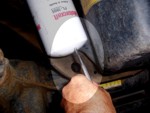 |
Draining the filter of old motor oil will facilitate in the removal of the filter. A heavy, oily filter is tough to keep hold of and makes
a big mess if you drop it.
Use a hammer and sharp punch to punch a small drain hole into the bottom of the filter. |
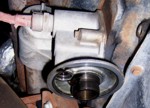 |
Allow the filter to drain completely and remove from the filter housing. |
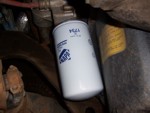 |
Carefully raise the new filter that is full of fresh oil and install it on the filter housing. Tighten to manufacturers
specifications. |
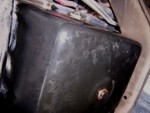 |
Wipe down the entire oil pan and inspect for any rust spots or leakage. |
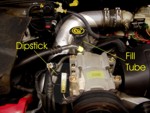 |
Locate the dipstick and oil filler tube under the hood. |
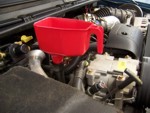 |
Place a large funnel in the oil fill tube. |
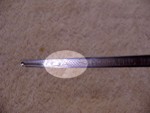 |
Pour in enough oil so the level is indicated on the dipstick in the crosshatch area. Start the engine and check the level
again. Slowly add oil until the oil level comes close to the top of the dipstick crosshatch area. |
Replace the oil fill tube cap and check the engine for leaks while running.
|
Back to guzzle's Powerstroke Maintenance Index |
